


There is, in the average British kitchen, a small removable tray that slides out from the bottom...

Nobody wants to be Googling this at seven in the morning. A nosebleed in the night, a...

There’s a particular sequence of events that plays out in London living rooms with depressing regularity. Something...
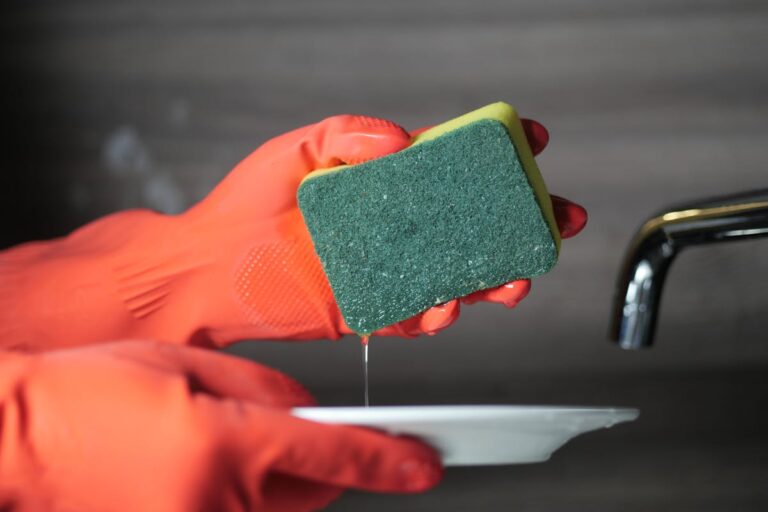
You reach for the sponge. Maybe you’re half-awake, first cup of tea still brewing, just trying to...

There’s something wonderfully indulgent about having a walk-in wardrobe. It’s the stuff of interior design dreams, isn’t...

Why We All Hate Certain Chores I’m not proud to admit it, but I’ve pretended not to...
If you’re ready to switch up your cleaning routine, you could not have chosen a better place...
Hey there, fellow cleanliness enthusiasts! It’s your friendly neighbourhood professional cleaner, Kate, here to commiserate with you...

Green type of clean-up, for me, is an inspiration and life magic. In striving to protect my...
Which are the profits of the professional house cleaning service? The regular domestic cleaning by our own...